Audio quality can make or break a YouTube video. Viewers might tolerate slightly lower video resolution—but poor sound leads to instant drop-off. That’s why choosing the right microphone is one of the most important decisions for every YouTube creator, regardless of niche.
In this 1000-word guide, we’ll cover the different types of microphones, their ideal use cases, essential specifications, and practical recommendations to help you deliver clear, professional, and engaging audio.
1. Why the Right Microphone Matters on YouTube
Good audio:
- Enhances viewer engagement
- Makes your voice sound clear, warm, and professional
- Reduces background noise
- Helps build trust and authority
- Supports strong storytelling
A great mic can instantly upgrade your video quality—even more than a better camera.
2. Types of Microphones Used by YouTube Creators


Let’s explore the major categories of microphones and when to use them.
2.1 Lavalier Microphones (Clip-On Mics)
Lavalier mics are small microphones that clip onto your clothing. They’re perfect for creators who want hands-free audio.
Best For:
- Vlogs
- Interviews
- Fitness or cooking videos
- Movement-heavy content
Pros
- Discreet and lightweight
- Consistent audio even with camera movement
- Affordable wired options
Cons
- Wired lavs limit movement
- Wireless lavs can be expensive
Creators often prefer wireless systems from companies like RØDE for on-the-go shooting.
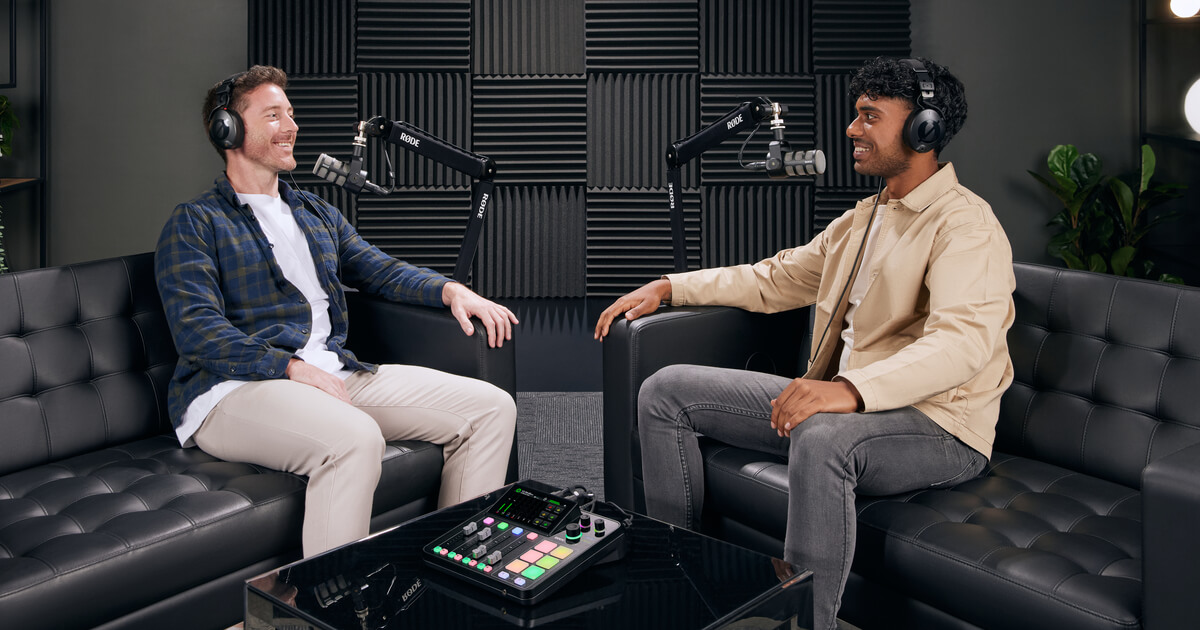
2.2 Shotgun Microphones
Shotgun mics capture focused sound from the direction they are pointed at, making them ideal for on-camera setups.
Best For:
- Talking-head videos
- Travel vlogs
- Product reviews
- Studio/room recordings
Pros
- Rejects background noise
- Easy to mount on a camera or boom pole
- Great for both indoor and outdoor shoots
Cons
- Requires good placement
- Less effective in echo-heavy rooms
Many creators pair a shotgun mic from companies like Shure or similar brands with a tripod or camera rig.
2.3 USB Podcast Microphones
USB mics are extremely popular among YouTubers who record at a desk.
Best For:
- Tutorials
- Commentary
- Gaming channels
- Voiceovers
- Podcasts
Pros
- Plug-and-play design
- No extra audio interface needed
- Great sound quality for the price
Cons
- Not ideal for movement
- Can pick up room noise if not used properly
Popular for creators who film from a fixed location.
2.4 XLR Microphones (Professional Studio Mics)
XLR mics offer the highest audio quality but require additional equipment like an audio interface or mixer.
Best For:
- Professional YouTube studios
- Cinematic narration
- Podcast networks
- Music-related channels
Pros
- Best sound quality
- Massive control over tone
- More durable and upgradable
Cons
- Expensive
- Requires setup knowledge
- Not portable
XLR setups are commonly used by creators who want premium, studio-grade audio.
2.5 Wireless Microphone Systems
Wireless mics include a transmitter, receiver, and sometimes a built-in capsule.
Best For:
- Travel
- Outdoor filming
- Interviews
- Movement-heavy shoots
Pros
- Total freedom of movement
- High-quality sound
- Convenient for multi-camera setups
Cons
- Battery dependence
- Risk of signal interference
Wireless systems are the go-to choice for vloggers and documentary-style creators.
3. Important Microphone Specifications for YouTubers
Understanding mic specs helps you choose better.
3.1 Polar Patterns
Polar patterns describe how a microphone picks up sound.
Cardioid
- Most common
- Picks up sound from the front
- Great for voice recordings
Omnidirectional
- Picks up sound from all directions
- Ideal for interviews or outdoor ambient audio
Supercardioid / Hypercardioid
- Common in shotgun mics
- Very focused pickup
Bidirectional
- Captures audio from front + back
- Useful for 2-person podcasts
3.2 Frequency Response
A flat and wide frequency range (e.g., 20 Hz–20 kHz) captures natural and rich voice tones.
3.3 Sensitivity & Noise Levels
Lower self-noise (measured in dB) = cleaner audio.
Studio mics often excel here, offering very low noise levels.
3.4 Connectivity: USB vs XLR
- USB mics → simple, portable, beginner-friendly
- XLR mics → professional, require audio interfaces
Choose based on your workflow and budget.
4. Microphone Recommendations by YouTube Content Type


Below are general microphone types suited for different YouTube niches.
4.1 Vloggers & Travel Creators
Recommended mics:
- Shotgun mics
- Wireless lavalier systems
These mics handle movement and outdoor conditions well.
4.2 Tech Reviewers & Educators
Recommended mics:
- USB microphones
- Shotgun microphones on a boom arm
- XLR mics for premium studio setups
These creators often film in controlled environments.
4.3 Fitness & Cooking Channels
Recommended mics:
- Wireless lavalier mics
Hands-free recording is essential when moving around.
4.4 Gaming, Commentary & Live-streaming
Recommended mics:
- USB podcast mics
- XLR studio mics
Creators sit close to the microphone, making desk mics ideal.
4.5 Interviews & Podcasts
Recommended mics:
- Lavalier mics for on-camera interviews
- XLR dynamic mics for podcasts
These options offer clarity and minimize background noise.
5. Essential Accessories Every YouTube Creator Should Have
Great microphones need the right accessories.
5.1 Boom Arms & Stands
For positioning mics close to your mouth without being in the frame.
5.2 Pop Filters & Windshields
Reduce plosive sounds (p, b, t) and wind noise.
5.3 Audio Interface (For XLR Mics)
Interfaces like Focusrite Scarlett allow XLR mics to connect to computers.
5.4 Shock Mounts
Prevent vibrations and table noise from affecting your audio.
5.5 Deadcats (For Outdoor Recording)
Essential for reducing wind noise during travel vlogs.
6. Choosing the Right Microphone Based on Budget
Budget (Under $50–$70)
- Basic lav mics
- Entry-level USB mics
Mid-Range ($100–$200)
- High-quality USB mics
- Compact shotgun mics
Professional ($300+)
- Premium shotgun mics
- Professional XLR studio mics
- Wireless systems
The sweet spot for most creators is the mid-range, offering quality without complexity.
7. Tips to Improve Your Audio Quality Instantly
- Keep the mic as close to your mouth as possible
- Record in quieter environments
- Use soft furnishings to reduce echo
- Always monitor your audio levels
- Use external microphones—never rely on camera mics
- Learn basic audio EQ and noise reduction
These simple adjustments dramatically improve audio quality.